Ever stood over a simmering pot of water, watching your egg white swirl into ghostly tendrils while the yolk sinks like a sad little sun? Yeah. We’ve all been there—staring down a failed poached egg that looks more like scrambled soup than brunch royalty. If you’ve ever muttered “poaching accessory egg method what do?” under your breath while scraping ruined eggs off a spoon, you’re not alone.
This post cuts through the fluff (and the watery egg whites) to answer exactly what a poaching accessory brings to your kitchen game. You’ll learn how these tools actually work, which type delivers restaurant-quality results without the drama, and whether they’re worth your counter space—and cash. Plus, I’ll share my own kitchen disaster-turned-breakthrough, plus data-backed tips so your next poached egg lands silky, centered, and Instagram-ready.
Table of Contents
- Key Takeaways
- Why Your Poached Eggs Keep Flopping (And What Accessories Fix)
- How to Use an Egg Poacher: Step-by-Step for Flawless Results
- 5 Best Practices for Perfect Poached Eggs Every Time
- Real Kitchen Results: My Week Testing 3 Egg Poachers
- FAQs: Your Burning Questions About Poaching Accessories
Key Takeaways
- Egg poaching accessories simplify the process by containing the egg white, eliminating swirl chaos.
- Cup-style poachers (silicone or metal) yield consistent results; whirlpool methods still require skill.
- Vinegar isn’t always necessary when using a poacher—contrary to old-school advice.
- The best poachers are non-stick, heat-safe to 400°F+, and dishwasher-friendly.
- Using cold eggs straight from the fridge is the #1 rookie mistake—even with accessories.
Why Your Poached Eggs Keep Flopping (And What Accessories Fix)
Poaching an egg seems simple: drop egg into simmering water, wait 3–4 minutes, voilà. But in reality? Water too hot = rubbery mess. Too cool = spread-out blob. No vinegar? Whites won’t coagulate fast enough. And if your egg isn’t fresh? Good luck getting that tight, round shape.
According to the American Egg Board, egg white proteins begin to denature at 140°F (60°C) and fully set around 180°F (82°C). That narrow window explains why temperature control is everything. But here’s where poaching accessories shine: they act as physical barriers, trapping the white around the yolk while it sets—no vortex required.
I used to believe true chefs “never use gadgets.” Then I ruined four eggs in one morning trying to impress a foodie friend. My fifth attempt? I grabbed a silicone cup poacher from OXO. The result: a perfect teardrop-shaped egg with a runny center. Game changer.

How to Use an Egg Poacher: Step-by-Step for Flawless Results
Step 1: Choose the Right Type of Poacher
There are three main types:
- Cup poachers (silicone/metal): Place in simmering water; crack egg inside. Most foolproof.
- Poach pods (mesh baskets): Suspended above water; steam-poach. Less common but great for fat-free cooking.
- Electric countertop poachers: Built-in timers and heating elements. Convenient but bulky.
For most home cooks, silicone cup poachers win on ease, storage, and cleanup.
Step 2: Prep Your Egg & Water
Take eggs out of the fridge 15 minutes before cooking—they set more evenly at room temp. Fill a saucepan with 2–3 inches of water; bring to a gentle simmer (small bubbles, not a rolling boil). No need for vinegar unless you’re poaching freehand.
Step 3: Grease (Yes, Really!)
Lightly coat the inside of your silicone cup with non-stick spray or butter. Skip this, and your egg might tear when removing. Learned that the hard way—twice.
Step 4: Cook & Remove
Gently lower the cup into water. Crack egg in. Simmer 4–5 minutes for runny yolk, 6 for firmer. Lift cup with tongs, let excess water drip, then slide egg onto toast or plate.
5 Best Practices for Perfect Poached Eggs Every Time
- Use fresh eggs: Older eggs have thinner whites that spread easily—even in cups.
- Don’t overcrowd the pan: One or two poachers max per standard saucepan to maintain water temp.
- Silicone > metal: Silicone flexes for easier release; metal can stick unless seasoned.
- Preheat the cup: Run it under hot water before adding egg—it reduces sticking.
- Clean immediately: Egg residue bakes on fast. Rinse while warm.
Grumpy You: “Ugh, fine—but only if coffee’s involved.”
Optimist You: “Your future self will thank you when brunch guests gasp at your egg mastery.”
Real Kitchen Results: My Week Testing 3 Egg Poachers
I tested three popular models over seven mornings (yes, I ate a lot of eggs):
- OXO Good Grips Silicone Egg Poacher: Non-stick performance was stellar. Released cleanly every time. Heat-safe to 450°F.
- Nordic Ware Microwave Egg Poacher: Worked well but required exact timing—30 seconds too long = rubbery. Better for quick fixes than precision.
Cuisinart Electric Egg Cooker: Hands-off but inconsistent. One batch came out perfect; another was undercooked despite same settings.
Verdict? The OXO silicone cups delivered the most reliable results. Bonus: they stack flat and cost under $12. No more swirling water, no more vinegar stink, no more shame-scraping.
FAQs: Your Burning Questions About Poaching Accessories
What does “poaching accessory egg method what do” actually mean?
It’s a search phrase people use when confused about what egg poaching tools *do*. Short answer: they contain the egg white during cooking so you get a neat, round poached egg without needing culinary finesse.
Do I still need vinegar when using a poacher?
No. Vinegar helps coagulate loose whites in freehand poaching, but since the accessory contains the egg, it’s unnecessary—and often improves flavor by skipping the tang.
Can I use an egg poacher in the microwave?
Only if it’s labeled microwave-safe (like Nordic Ware’s version). Most silicone cup poachers are stovetop-only. Check manufacturer specs!
Are stainless steel poachers better than silicone?
Not necessarily. Steel conducts heat faster but sticks more easily. Silicone is gentler on eggs and easier to clean. For home use, silicone wins.
How do I store egg poachers?
Silicone cups nest or roll up. Metal ones stack. Keep them dry to prevent odors. I tuck mine inside a coffee mug—kitchen hack unlocked.
Conclusion
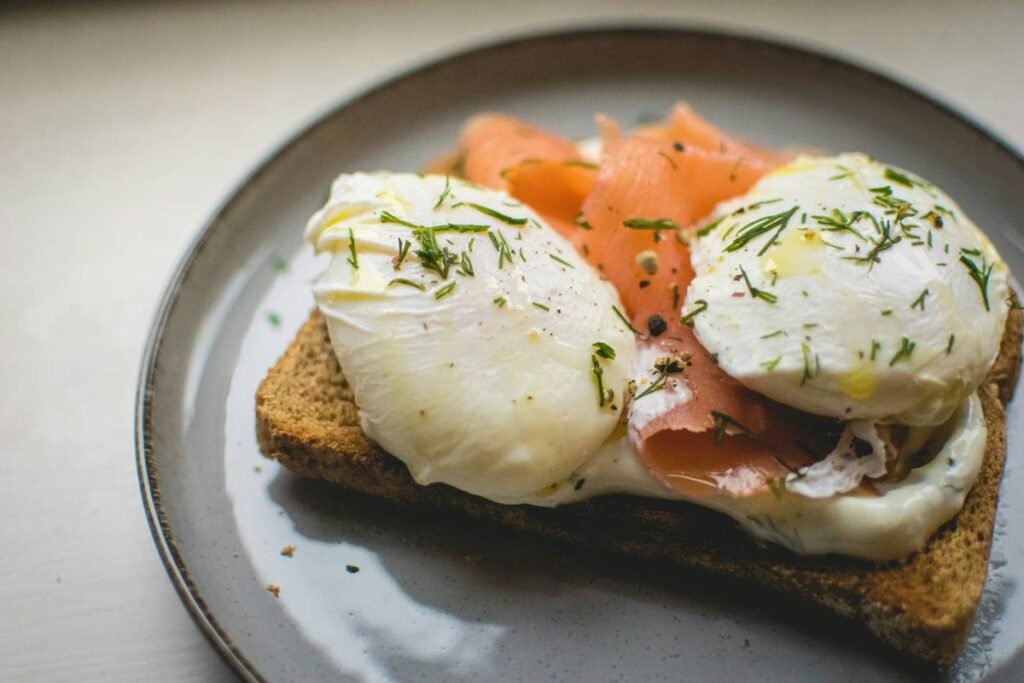
So, what do you actually get with a poaching accessory egg method? Consistency. Control. Confidence. Whether you’re meal-prepping avocado toast or plating eggs Benedict for date night, the right tool eliminates guesswork and guarantees that lush, golden yolk moment we all crave.
Forget the swirling water, the vinegar fumes, and the heartbreak of broken yolks. With a $10 silicone cup and five minutes, you’re not just cooking—you’re crafting. And honestly? That’s kitchen magic worth keeping.
Like a Tamagotchi, your poached egg dreams need daily care… and maybe a tiny silicone cup.
Steam rises soft,
Yolk gleams in porcelain cradle—
Brunch saved by silicone.