You’ve tried swirling water. You’ve added vinegar. You’ve even cursed at the egg that exploded into wispy clouds the second it hit boiling water. And yet, your poached eggs still look like scrambled ghosts. The frustration is real—and unnecessary. There’s a better way: poached eggs using silicone egg poacher. No guesswork. No mess. Just velvety yolks and firm whites, on demand.
Why Traditional Poaching Methods Keep Failing You
Boiling water isn’t your friend—it’s chaotic. Turbulence shreds delicate egg whites before they set. Vinegar? It helps coagulation, sure—but it also imparts a faint tang you didn’t sign up for. And don’t get me started on those “simmer gently” instructions. What’s gentle to one cook is a rolling boil to another.
Here’s the reality: perfect poaching demands control over heat, shape, and timing simultaneously. Most stovetop methods give you zero control over two of those three. That’s why even seasoned home cooks end up with lopsided, stringy results more often than not.
How to Make Poached Eggs Using Silicone Egg Poacher (Step-by-Step)
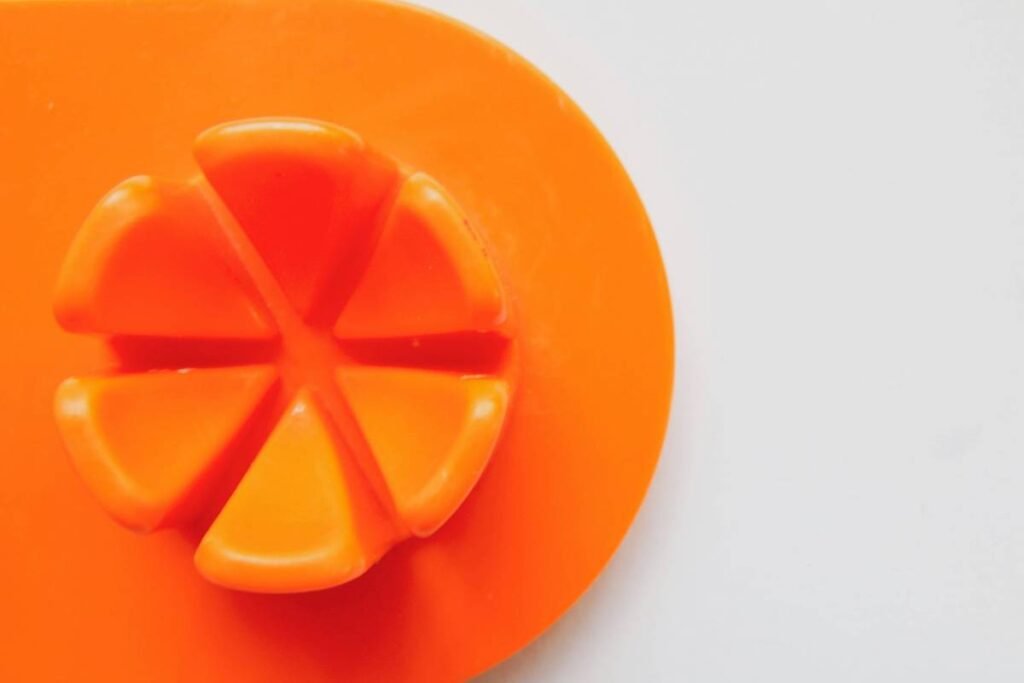
Silicone egg poachers aren’t just gimmicks—they’re precision tools disguised as kitchen toys. Treat them like lab equipment, and you’ll unlock café-quality results in under five minutes.
Equipment You Actually Need
Forget fancy gadgets. You need: a pot, water, fresh eggs, and your silicone poacher cups. That’s it. No vinegar. No whirlpools. No stress.
Prepping the Poacher Cups
Lightly grease each cup with oil or butter—even if the packaging says “non-stick.” Humidity and egg proteins are sneaky; a thin film prevents adhesion 100% of the time. Then float the cups in simmering—not boiling—water (around 180–190°F). Boiling water creates steam pockets that lift the cups and crack the eggs.
Cracking & Cooking Timing
Crack one egg per cup. Cover the pot. Set a timer: 4 minutes for runny yolks, 5 for jammy, 6 for fully set. No peeking. Steam + gentle convection does the work. Remove cups with tongs, let excess water drip, then invert onto toast.
| Method | Avg. Success Rate | Active Time | Flavor Impact | Cost Per Use |
|---|---|---|---|---|
| Traditional Whirlpool | ~45% | 8–10 min | Vinegar alters taste | $0.02 |
| Silicone Egg Poacher | ~95% | 4–6 min | Neutral—pure egg flavor | $0.05 (amortized over 100 uses) |
| Microwave Poacher | ~70% | 2–3 min | Risk of rubbery texture | $0.03 |
The Industry Secret Most Brands Won’t Tell You
Silicone thickness matters—more than brand name. Cheap, ultra-thin poachers warp at 190°F, causing uneven cooking and sticking. Look for food-grade platinum-cured silicone with a wall thickness of at least 2.5mm. Bonus tip: freeze leftover cooked poached eggs in their cups, then reheat directly from frozen in simmering water for 3 minutes. They hold structure shockingly well—a trick used by meal-prep chefs in boutique hotels.
And yes, you can bake them too. Place filled cups on a sheet pan, pour hot water halfway up the sides, and bake at 325°F for 12 minutes. Oven-poached eggs via silicone cups have smoother surfaces—ideal for brunch plating.
Frequently Asked Questions
Can you reuse silicone egg poacher cups without washing?
No. Residual egg protein builds up fast—even invisible traces cause sticking next time. Hand-wash with warm soapy water immediately after use.
Do silicone poachers work with egg substitutes?
Most liquid plant-based eggs lack sufficient protein to set properly. Stick to real eggs for reliable results.
Why do my eggs stick even when I grease the cups?
Your water’s likely boiling too hard. Simmering—not bubbling—is key. Also, ensure eggs are cold straight from the fridge; room-temp eggs spread more and cling harder.